
Panduan Lengkap: Deploy Website Statis ke Kubernetes Menggunakan Docker + NodePort
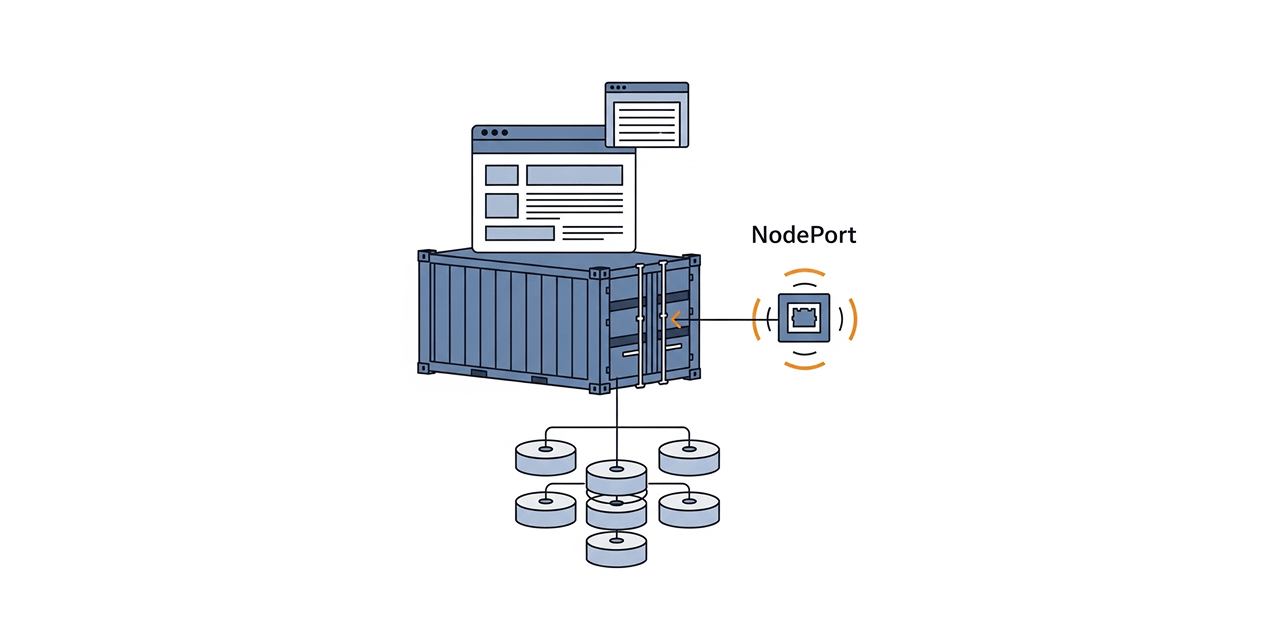
Ingin men-deploy website statis HTML+CSS buatan sendiri ke Kubernetes tanpa ribet? Panduan ini cocok untuk kamu yang ingin:
- Belajar membuat custom Docker image 📦
- Deploy ke Kubernetes tanpa Ingress (cukup pakai NodePort) ☸️
- Cocok untuk latihan custom images, tugas akhir, atau testing infrastruktur ringan 🎯
🗂️ Struktur Proyek
Berikut struktur direktori yang rapi dan jelas, ideal jika kamu memisahkan antara build Docker dan server Kubernetes (dua mesin berbeda):
custom-html/
├── index.html             # Halaman utama website
├── styles.css             # Style CSS
├── Dockerfile             # Script build Docker image
├── deployment.yaml        # YAML untuk deploy di Kubernetes (server berbeda)
└── service-nodeport.yaml  # YAML untuk expose service NodePort di Kubernetes
⚠️ Penting: Build Docker image dilakukan di server Docker, lalu di-push ke Docker Hub agar server Kubernetes bisa mengaksesnya.
🔧 Langkah 1: Siapkan Folder Proyek di Server Docker
mkdir custom-html && cd custom-html
🖼️ Langkah 2: Buat File HTML dan CSS
📄 index.html
<!DOCTYPE html>
<html lang="en">
<head>
  <meta charset="UTF-8" />
  <meta name="viewport" content="width=device-width, initial-scale=1.0"/>
  <title>My Simple Page</title>
  <link rel="stylesheet" href="styles.css" />
  <meta name="description" content="Website statis HTML sederhana yang dijalankan di Kubernetes menggunakan Docker dan NodePort.">
</head>
<body>
  <h1>Hello from Kubernetes! 🚀</h1>
  <p>This is a static page served from a custom Docker image.</p>
</body>
</html>
🎨 styles.css
body {
  font-family: sans-serif;
  background-color: #f5f5f5;
  text-align: center;
  padding-top: 50px;
  color: #333;
}
🐳 Langkah 3: Buat Dockerfile
📄 Dockerfile
FROM nginx:alpine
COPY index.html /usr/share/nginx/html/index.html
COPY styles.css /usr/share/nginx/html/styles.css
File ini membuat image ringan berbasis nginx dan menyalin HTML+CSS ke direktori default nginx.
📦 Langkah 4: Build dan Push Docker Image dari Server Docker
⚠️ Karena server Docker dan Kubernetes berbeda, kamu harus push image ke registry publik seperti Docker Hub.
# Build image (ganti "masdika" dengan username Docker Hub kamu)
docker build -t masdika/custom-html:latest .

# Login ke Docker Hub (jika belum)
docker login -u userKamu

# Push image ke Docker Hub
docker push masdika/custom-html:latest
✅ Setelah ini, kamu bisa berpindah ke server Kubernetes untuk proses deployment.
☸️ Langkah 5: Buat Deployment Kubernetes (di Server Kubernetes)
📄 deployment.yaml
apiVersion: apps/v1
kind: Deployment
metadata:
  name: custom-html
spec:
  replicas: 1
  selector:
    matchLabels:
      app: custom-html
  template:
    metadata:
      labels:
        app: custom-html
    spec:
      containers:
      - name: web
        image: masdika/custom-html:latest
        ports:
        - containerPort: 80
🌐 Langkah 6: Buat Service dengan NodePort (di Server Kubernetes)
📄 service-nodeport.yaml
apiVersion: v1
kind: Service
metadata:
  name: custom-html-svc
spec:
  selector:
    app: custom-html
  ports:
    - protocol: TCP
      port: 80
      targetPort: 80
      nodePort: 30080
  type: NodePort
🚀 Langkah 7: Deploy ke Kubernetes
kubectl apply -f deployment.yaml
kubectl apply -f service-nodeport.yaml
📌 Pastikan kubectl sudah terhubung ke cluster dan image bisa di-pull dari Docker Hub.
🌍 Langkah 8: Akses Website dari Browser
Buka browser:
http://<IP-PUBLIC-NODE>:30080
Contoh:
http://206.237.97.18:30080

✅ Jika tampil halaman HTML, berarti sukses!
🧪 Debug & Monitoring
kubectl get pods -l app=custom-html
kubectl logs <nama-pod>
kubectl get svc custom-html-svc


🔒 Bonus Opsional untuk Produksi
- 🔀 Tambahkan liveness dan readiness probe
- 🔐 Tambah Ingress + cert-manager untuk HTTPS otomatis
- ♻️ Auto update image pakai Watchtower atau ArgoCD
🎉 Penutup
Dengan tutorial ini, kamu telah:
- Deploy website statis sederhana untuk latihan
- Build Docker image dan push ke Docker Hub
- Deploy ke Kubernetes via NodePort tanpa Ingress
🔥 Cocok untuk portofolio, pembelajaran DevOps, dan testing cluster bagi pemula yang baru belajar!